Notion is your digital sanctuary for note-taking. Its minimalist interface and endless customization possibilities make it the ultimate tool for modern knowledge management. Let’s explore how to harness Notion’s potential and revolutionize your note-taking.
This step-by-step guide will walk you through harnessing Notion’s features to revolutionize your note-taking experience, ensuring optimal organization and efficiency.
Table of Contents
Steps for Note Taking with Notion
Step 1: Getting Started
- Open Notion and sign in or create an account.
- Once in, create a new page by clicking “+ Add a page” in the sidebar.
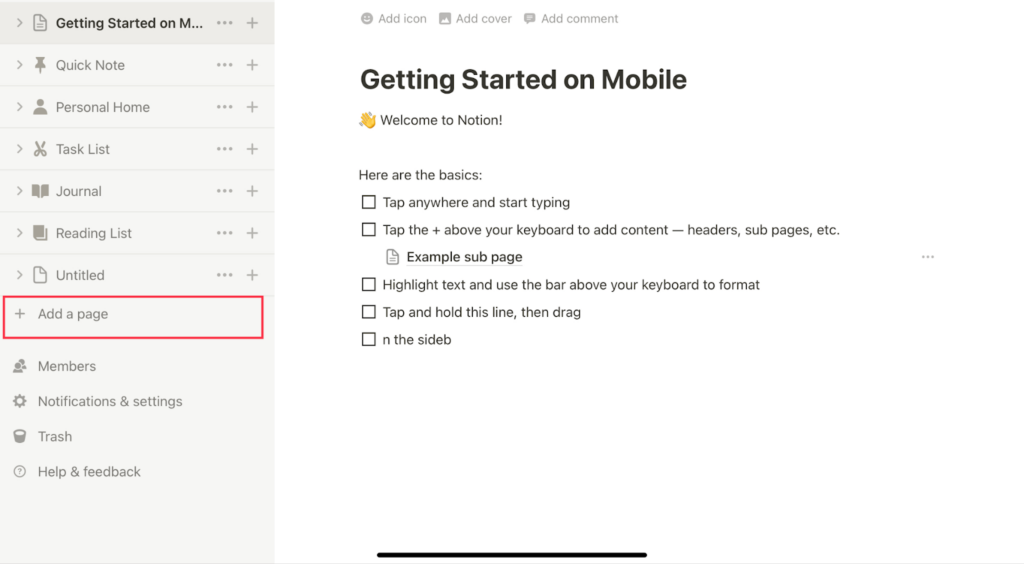
- Give your page a title and hit enter to start your note-taking journey.
Step 2: Embracing Blocks
- Each note is composed of “blocks.” Begin with a text block, but don’t stop there.
- Click the “+” icon to explore different block types like headings, quotes, and dividers.
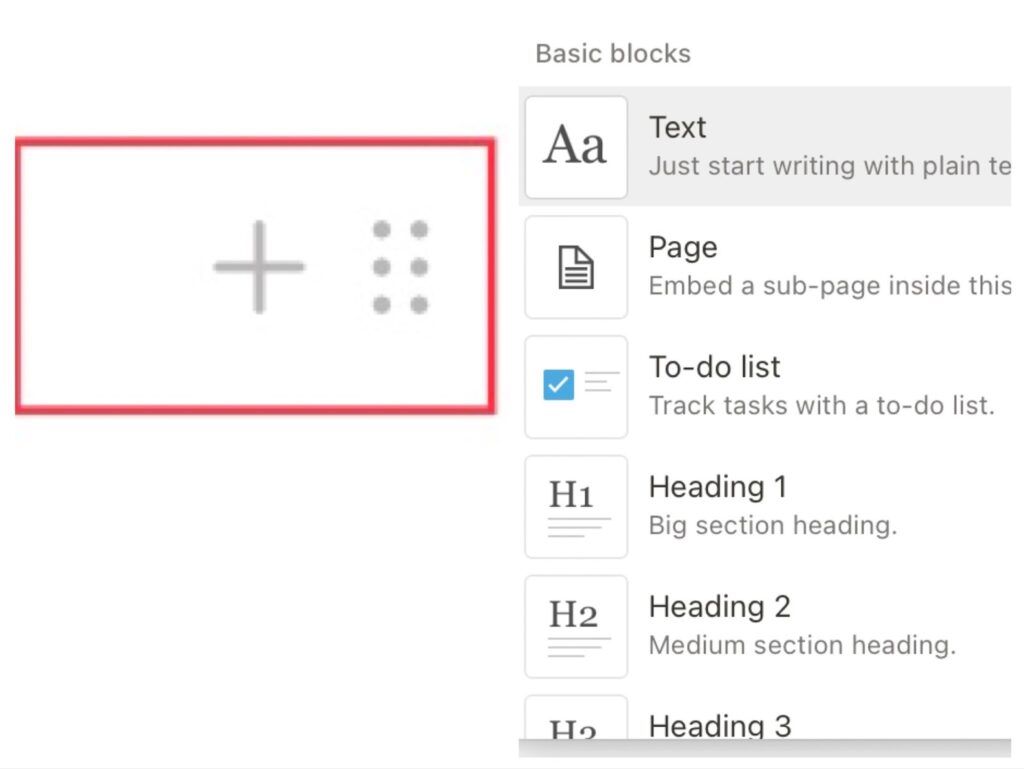
- To rearrange, drag a block’s six-dot menu and place it where it fits best.
Step 3: Formatting Your Notes
- Elevate your text’s visual appeal by using formatting options.
- Create headings by clicking H1, H2, or H3 when making a new block.
- Customize text colors, backgrounds, and styles using the formatting menu.
- Enhance readability with callouts, quotes, and dividers from the block options.
Step 4: Organising with Sub-Pages
- Combat clutter by organizing notes into sub-pages.
- Click “+ Add a page” in the sidebar to create a navigation page.
- Add headings for categories, like “Work” or “Personal,” to your navigation page.
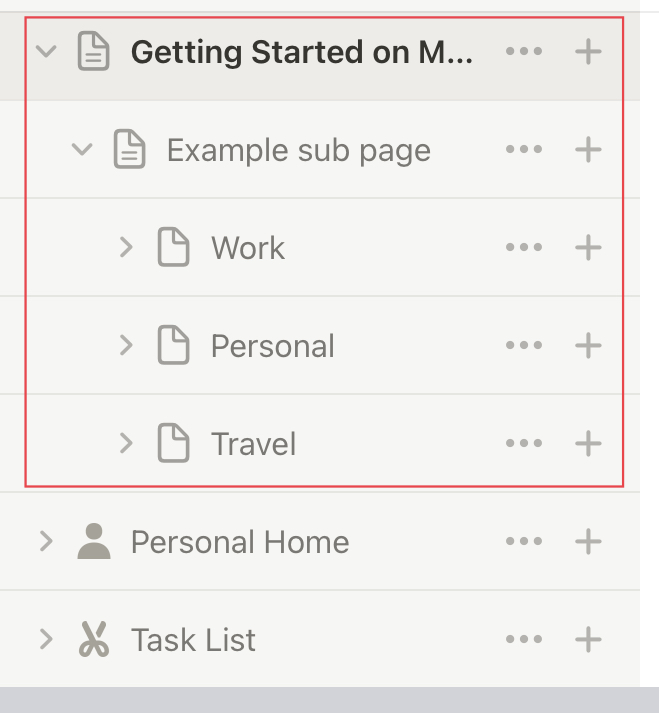
- Move existing notes by dragging them under appropriate categories.
- Toggle sub-pages to manage extensive content without overwhelming your sidebar.
Step 5: Linking and Sub-Page Nesting
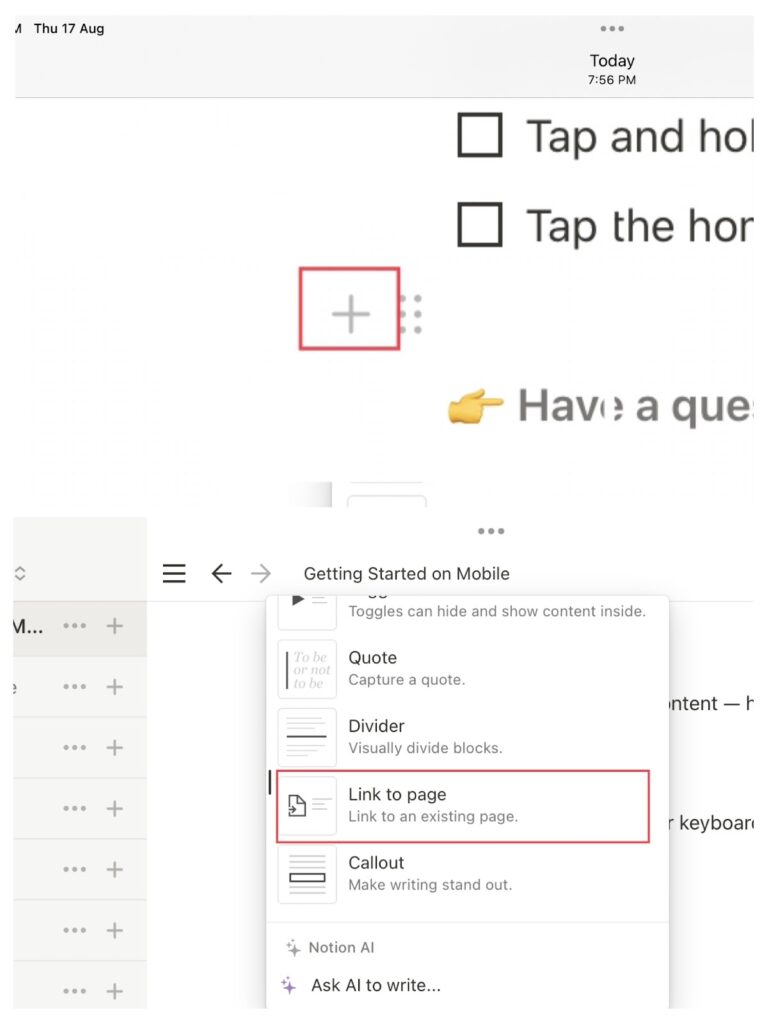
- Linking notes allows seamless access without relocating them.
- Click “+,” select “Link to page,” and choose the note to be linked.
- Nest sub-pages within sub-pages for a layered hierarchy.
- Click “+,” choose “Page,” and create a new page directly within the navigation page.
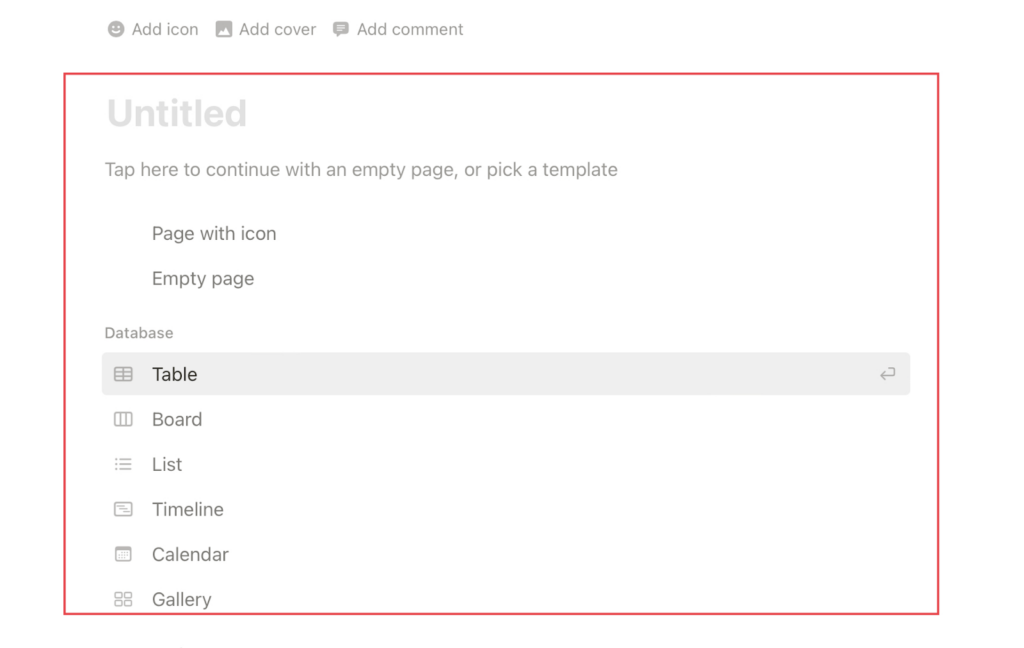
Step 6: Creating Databases
- Databases amplify organization and searchability.
- Create a database by adding a new page, selecting “Table” under “Database,” then “+ New database.”
- Label the first cell under “Name” with your note’s title and hit enter.
- Click “Open” on the cell to access a dedicated page for your note.
- Add properties like tags and dates to enhance categorization and sorting.
Step 7: Streamlining Database Usage
- Customize properties on your note’s dedicated database page.
- Your database entries will automatically populate with the data you’ve entered.
- Utilize tags for quick searches and properties for tailored sorting.
Step 8: Efficiency Unleashed
Embrace the fluidity of Notion’s note-taking system across devices. Experience seamless continuity in a fast-paced world with easy access to your organized notes.
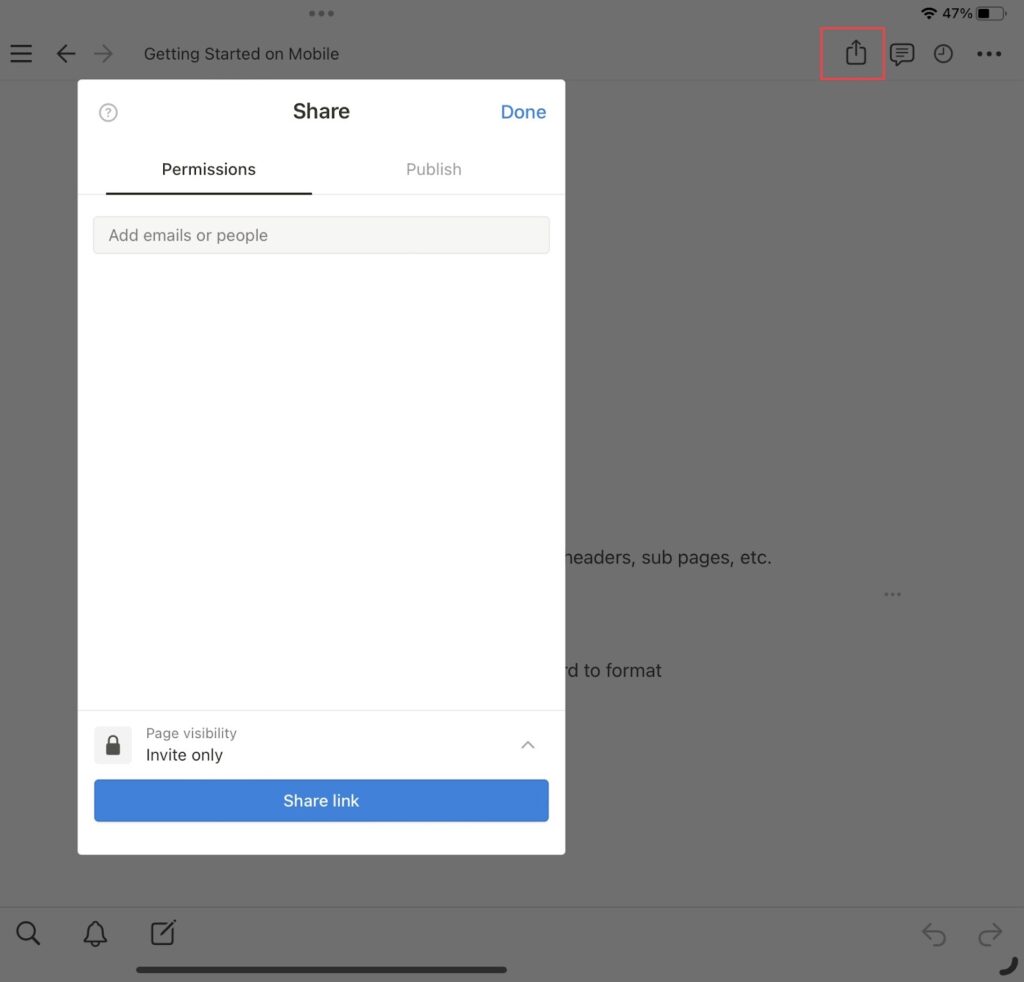
Step 9: Collaborative Note-Taking
- Click the “Share” button on the top right corner of a page to invite collaborators.
- Choose whether collaborators can view, edit, or comment on your notes.
- Use comments to have discussions within the context of specific notes.
Step 10: Utilising Templates
- Explore Notion’s template library by clicking “+ New” and selecting “Template.”
- Select a template that suits your needs, such as project management or journaling.
- Modify templates to align with your preferences and requirements.

Step 11: Advanced Block Features
- Add richness to notes by embedding YouTube videos, Google Docs, etc.
- Use checkboxes and to-do lists for efficient task management.
- Insert code snippets to share programming or technical content.
Step 12: Data Import and Export
- Click “Import” to bring in data from other apps or documents.
- Select the source app or file and follow the prompts to import.
- Export notes or databases for backup or sharing purposes.

Ending Thoughts
Notion is your note taking haven offering a structured yet adaptable system. By following this step by step tutorial you can use Notion to its full potential, turning fragmented information into a cohesive knowledge hub. Take charge of your note-taking, and step confidently into the future with Notion.