Do you have a large group of data that you want to keep as a database in Notion? If you do, then you should import that data to your Notion workspace as a database.
Learning to import CSV into a Notion database is the fastest way of doing this feat. But how?
Table of Contents
How to Import CSV into a Notion Database
Importing CSV into a Notion database is the same as merging databases in Notion. This is just one of the ways that you can use to combine two databases automatically.
Make sure though that the database you’ll import the CSV file into is a full-page database and that their properties are matching. Otherwise, this process won’t work as expected.
After you have opened the base database you want to import the CSV file into, do the following:
1. Click the 3-dot icon.
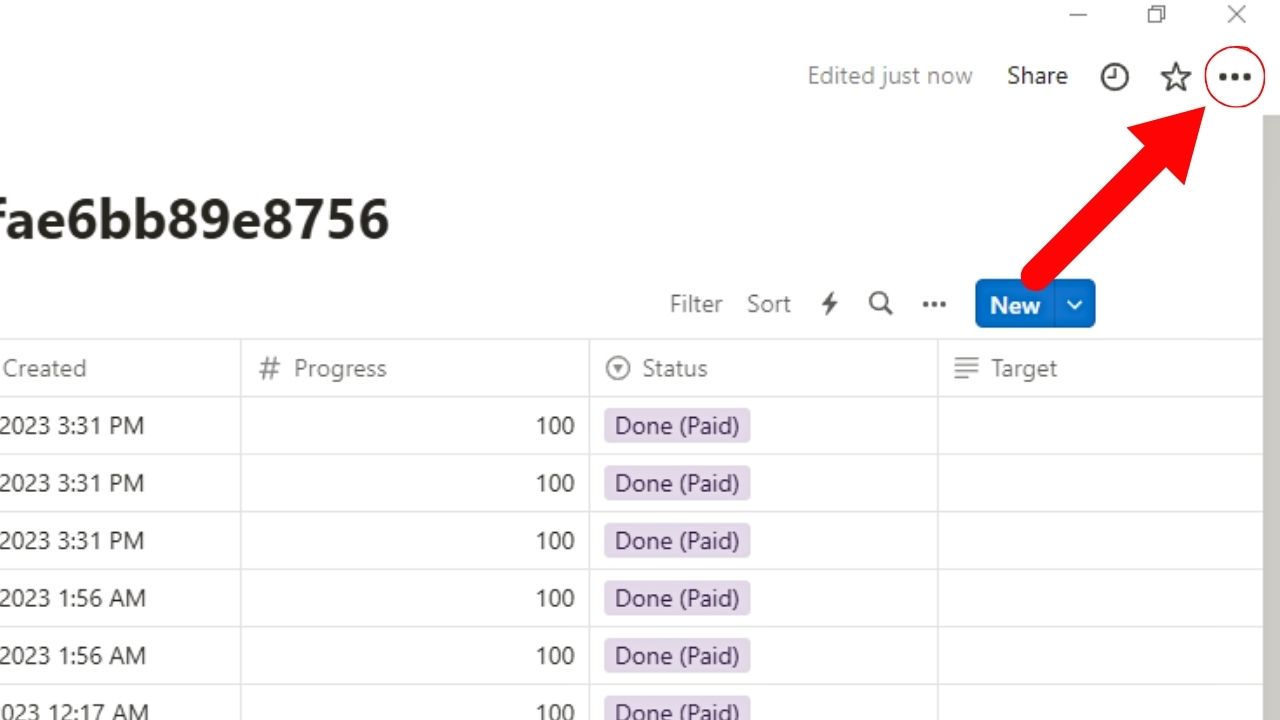
This is on the upper right corner of the full-page database you opened, after “Favorite.”
A dropdown menu then opens.
2. Select “Merge with CSV.”
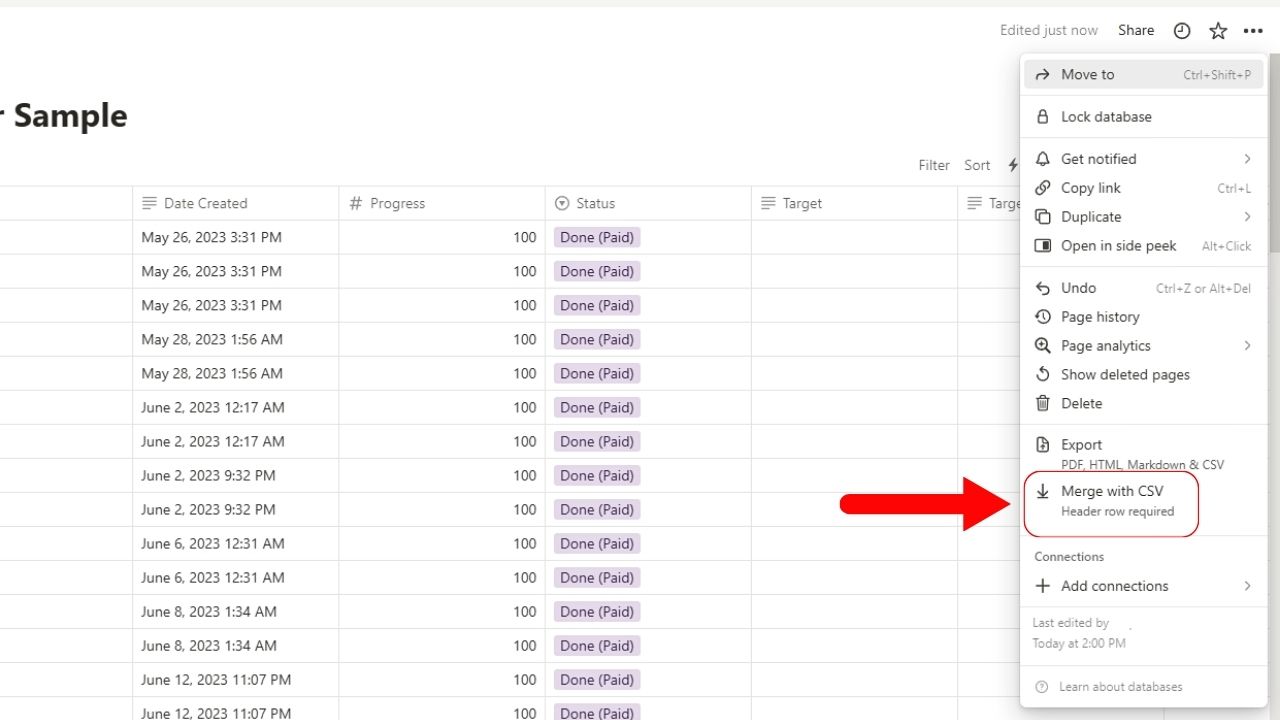
This option is between “Export” (the option you need if you want to export a Notion page as a PDF and “Add Connections.”
An “Open File” window then appears.
3. Open the CSV file you want to merge with the Notion database.
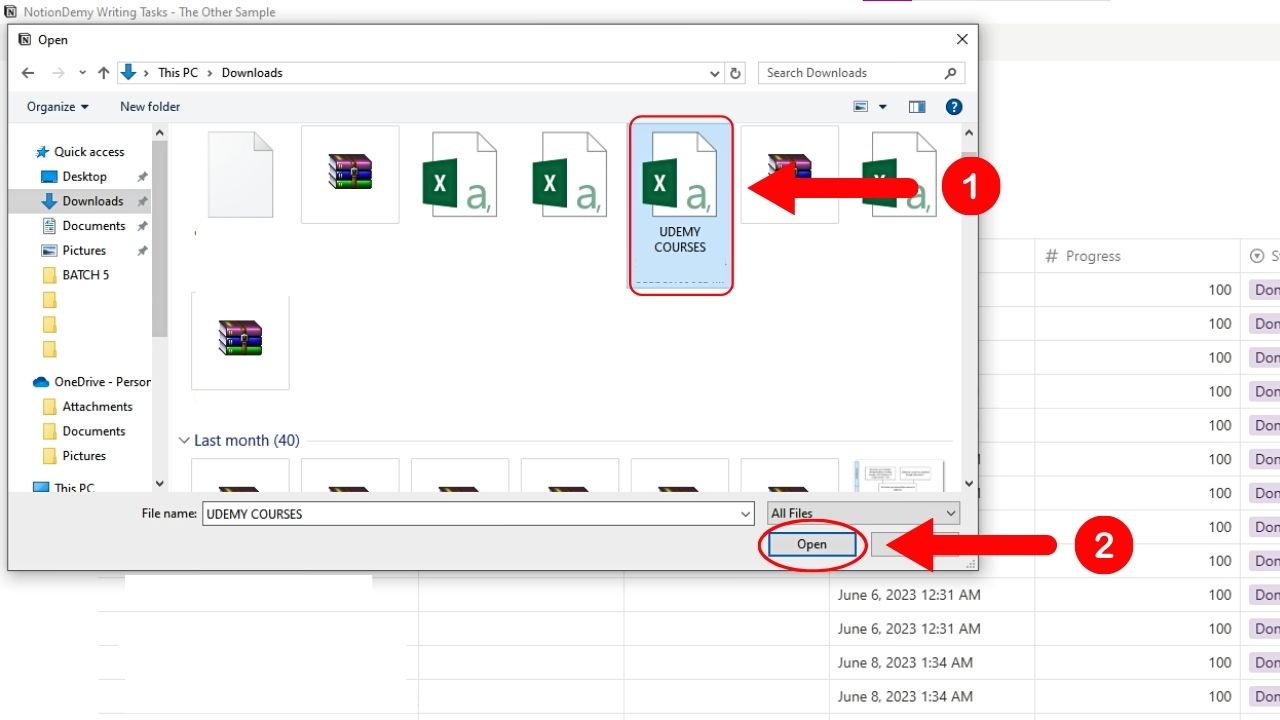
Simply click on the CSV file and select “Open.” An “Importing” notification then appears on the Notion page you opened.
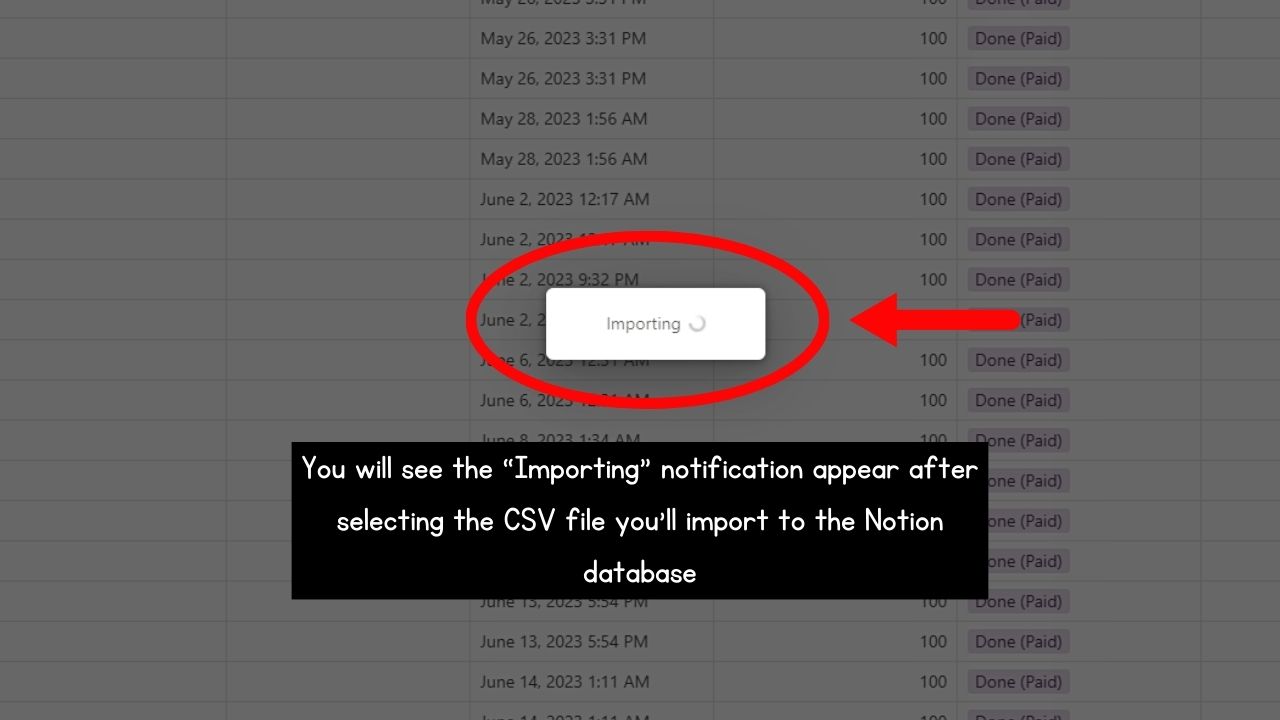
Wait for this importing process to finish. Notion is processing where to merge the entries from the CSV file into the base database.
Once the importing process is done, you should see new entries added to the base database.
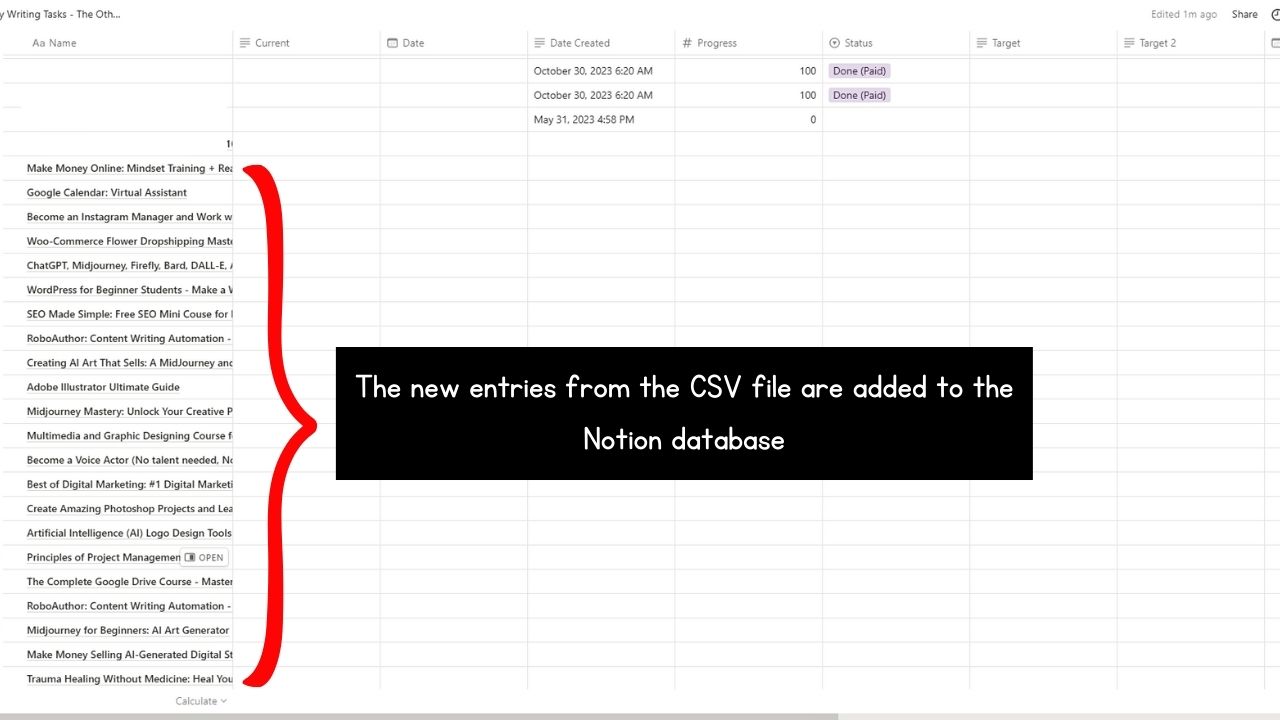
Not to worry though if you see blank entries in the properties. Notion doesn’t create new options when you import CSV files into a Notion database.
But to avoid this from happening, the properties where the new entries will come from should be the same as the existing database in Notion. Otherwise, it would result in a “Column Mismatch” error.
Now, if you prefer to add a new Notion workspace from a CSV file, the next section is what you should read.
How to Import CSV into Notion
Directly importing a CSV file into Notion doesn’t automatically add the new entries into an existing database. Rather, a new full-page database workspace will be created.
After you have opened the Notion account you want to import the CSV file into, do the following steps:
1. Click “Import.”
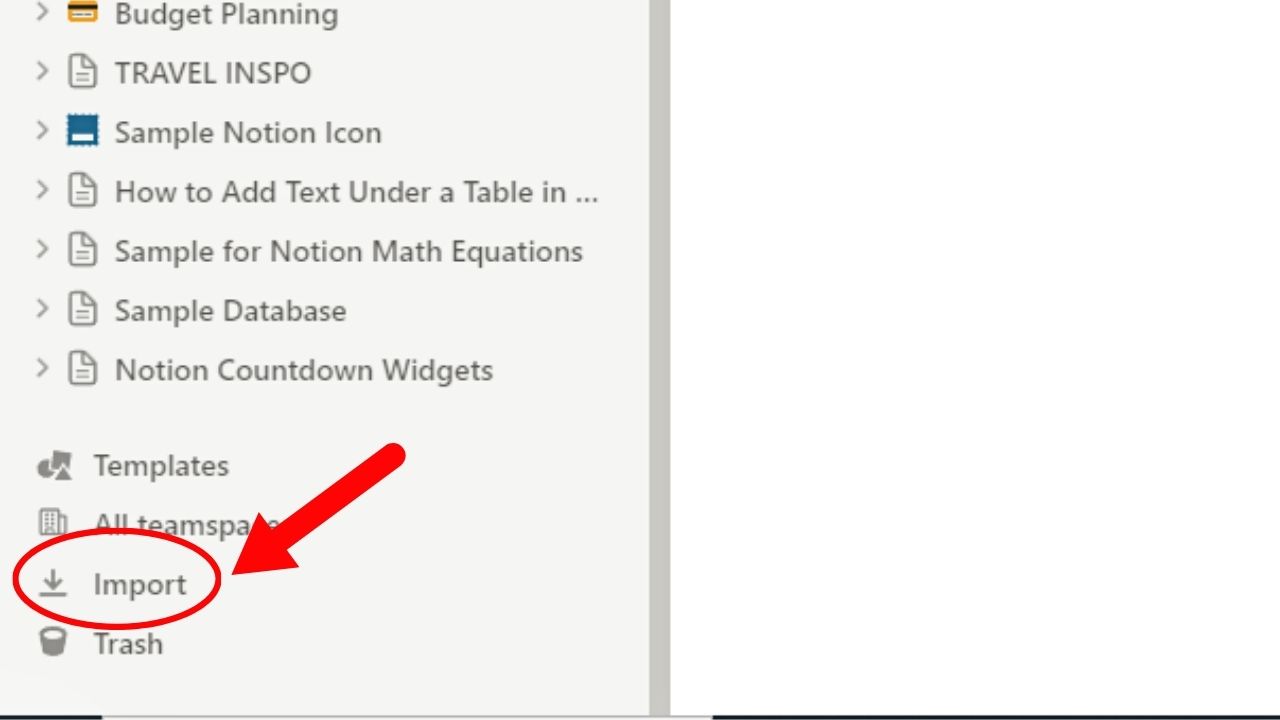
This is the second to the last option on the left sidebar, between “All team spaces” and “Trash” (where you’ll find all the pages, tables, and comments you deleted).
The “Import data” page then opens.
2. Select the “CSV” option.
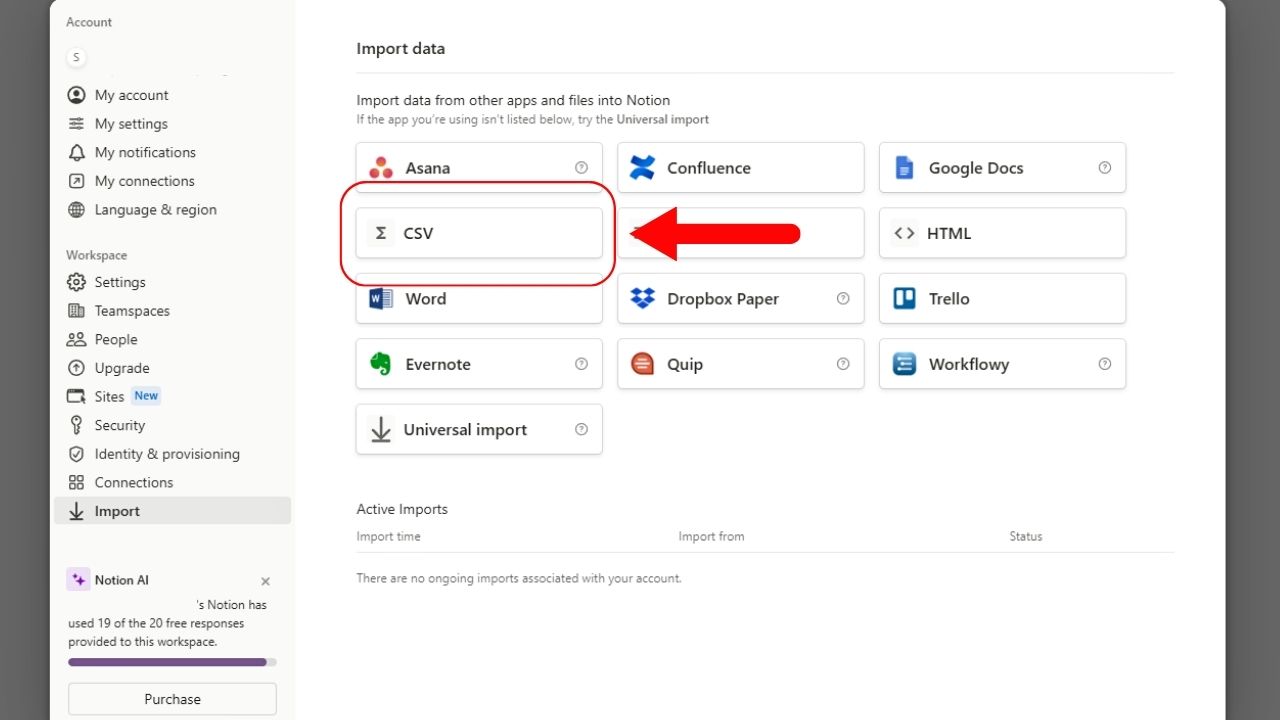
This is the first option on the second row of the “Import data” page below “Asana.”
This will then open the “Open” window featuring the files and folders found on your device.
3. Open the CSV file from your computer.

Simply click the CSV file from your computer and the “Open” button next.
Like importing CSV into a Notion database, you’ll see an “Importing” notification. This means that Notion is in the process of creating a new database page from the CSV file.
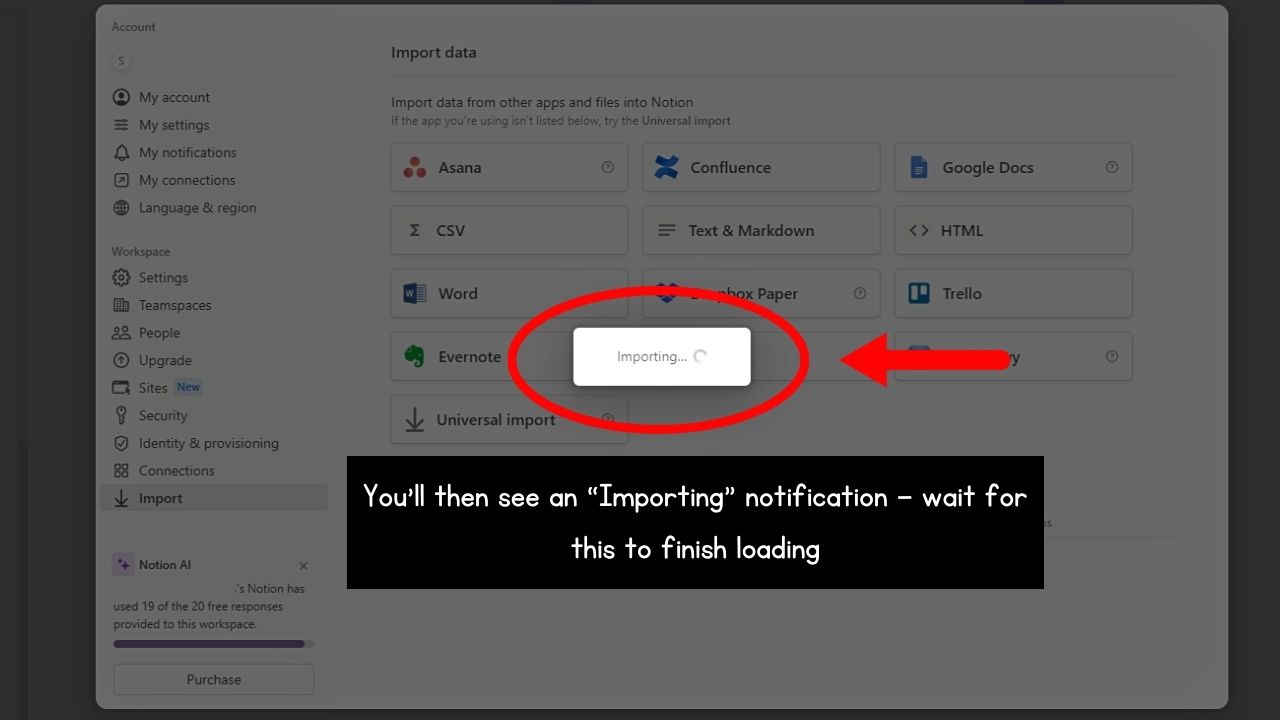
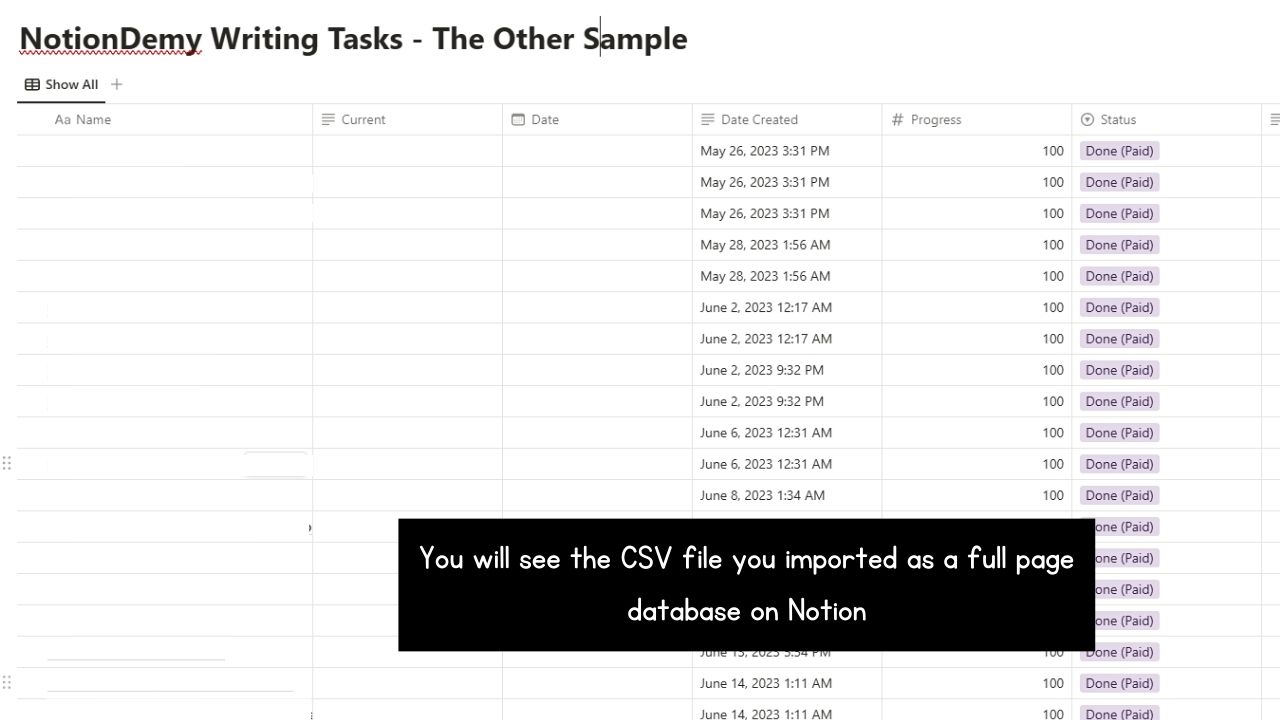
You should then see a new full-page database added to your Notion workspace.
Conclusion
Learning how to import CSV into a Notion database is a nifty skill you should learn for more streamlined data management. It even is one of the quickest ways of merging databases in Notion so you don’t have to do the deed manually.
So go ahead and apply the steps mentioned above. You don’t need to use third-party tools. Just plain application of the native process in Notion.
