Do you want to protect some of the pages in your Notion dashboard from prying eyes? Or do you want to protect vital information? Add a password to those pages!
But how do you password-protect your Notion pages so only authorized individuals can access them?
Table of Contents
How to Password Protect Notion Pages
Ensuring any data added to your Notion pages stays protected is crucial. Hence, if you want to keep any plans made on your travel planner template a surprise, make sure you are the only one who can access them.
The easiest way you can do this is by adding a password to those Notion pages. But how?
Do know that Notion doesn’t have a free or built-in password protection feature for its users. You have to either use alternative methods or third-party apps to password-protect your Notion pages.
1) Selecting the “Locked Pages” Feature in Notion
The easiest way to protect your Notion pages is to lock them. Though you won’t need a password for this, it’ll prevent unwanted edits from unauthorized users.
This is because you are the only person who can unlock it should you want other people to make changes.
1. Click the 3-dot icon.
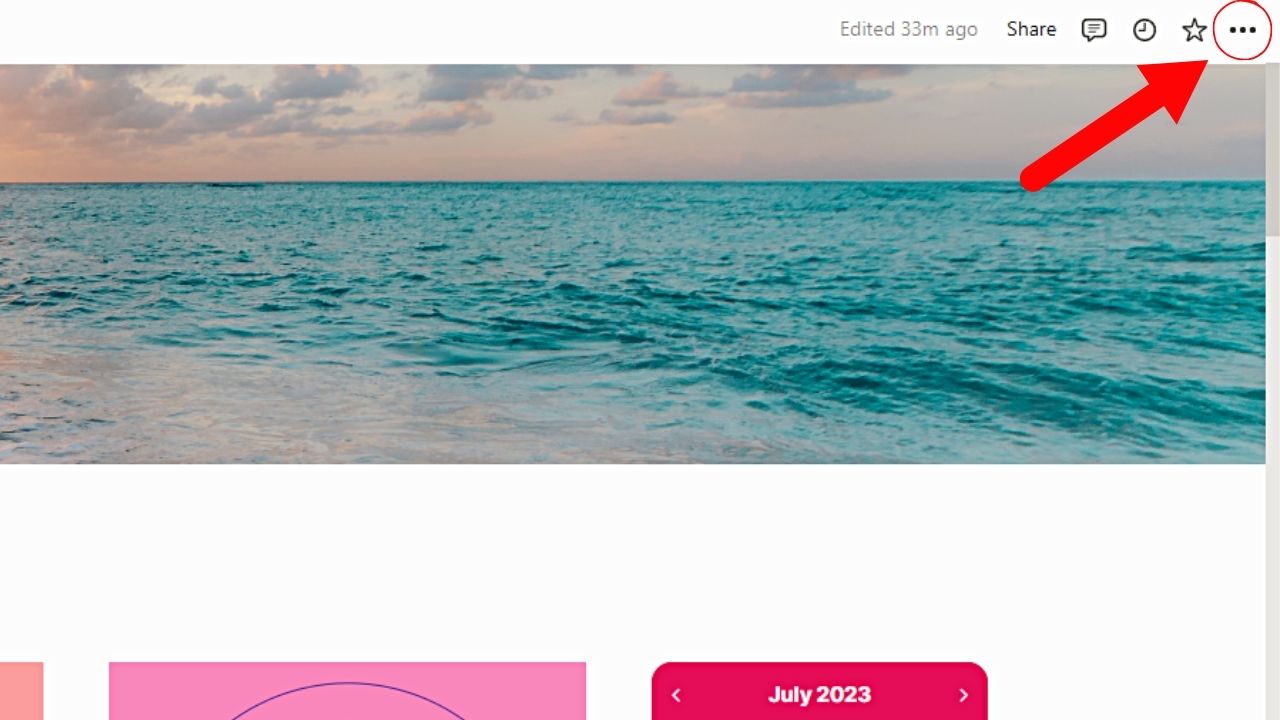
Otherwise known as the meatballs menu or the ellipsis icon, you’ll find this on the top-right corner of your Notion dashboard.
2. Select “Lock Page.”
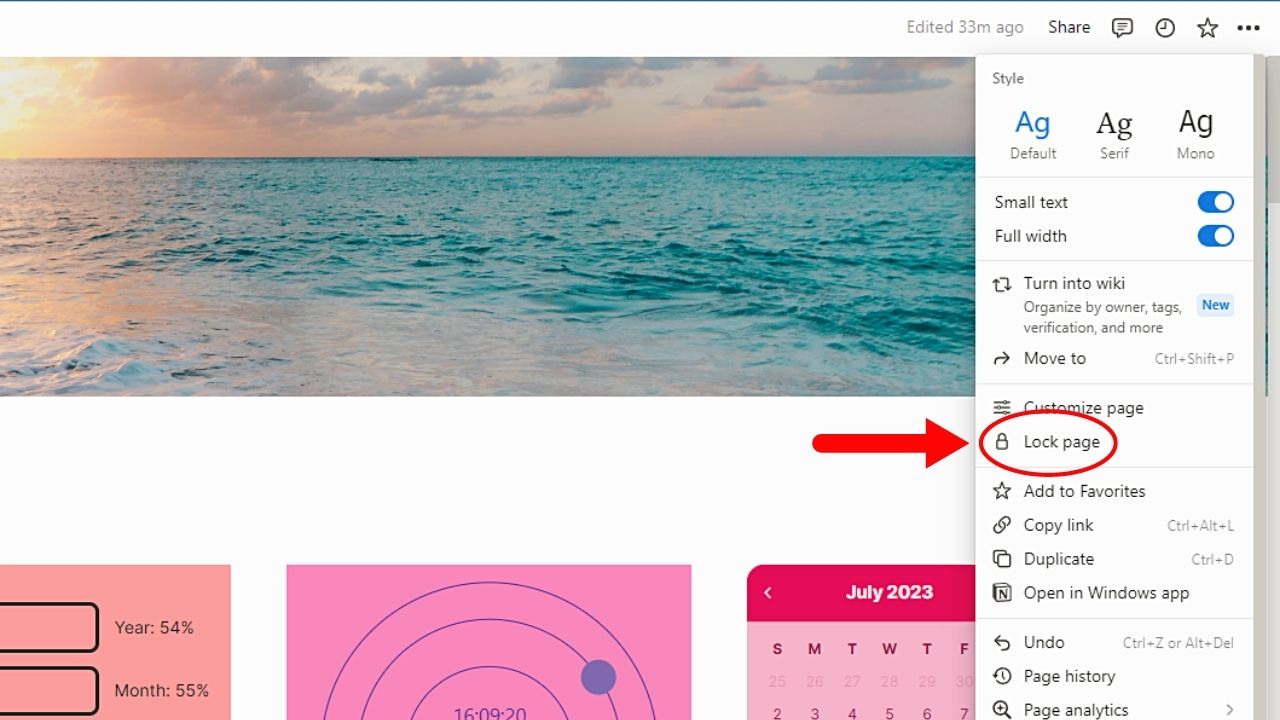
This option is between the “Customize page” and “Add to Favorites” in the dropdown menu.
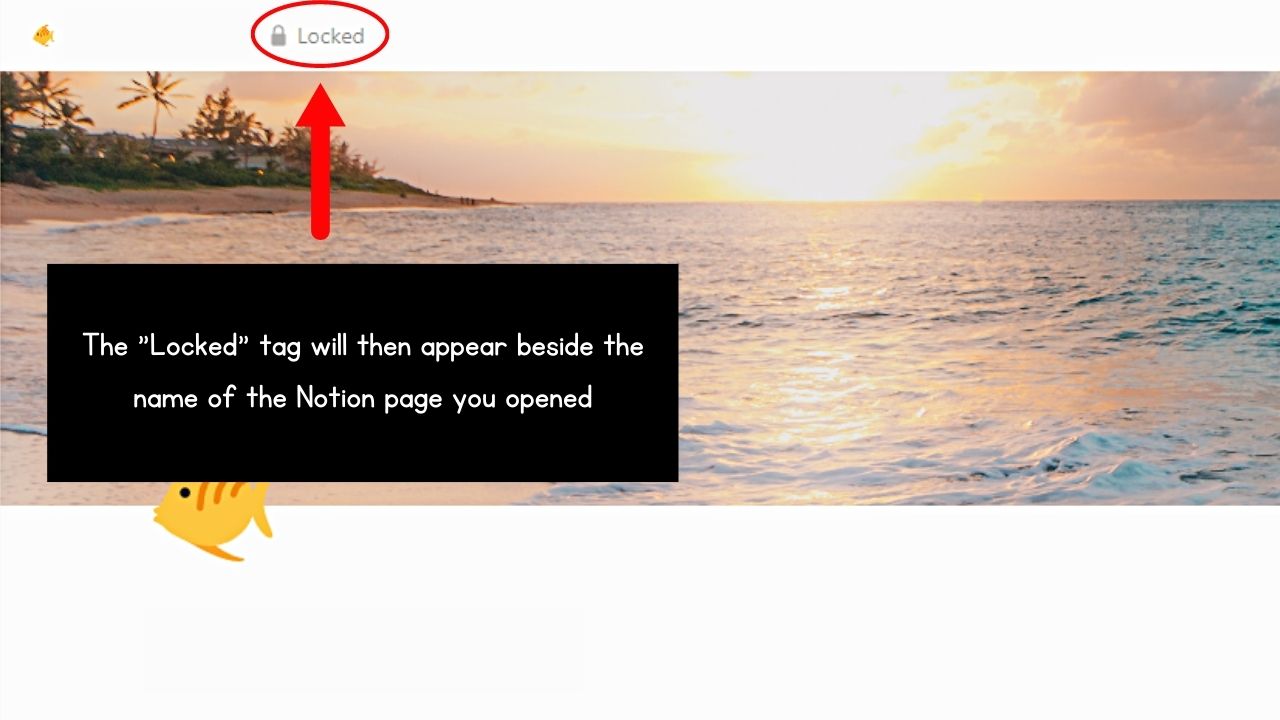
You and any unauthorized person will then see the “Locked” icon beside your Notion dashboard’s name.
2) Using 4-Digit Pin System to Password Protect Notion Pages
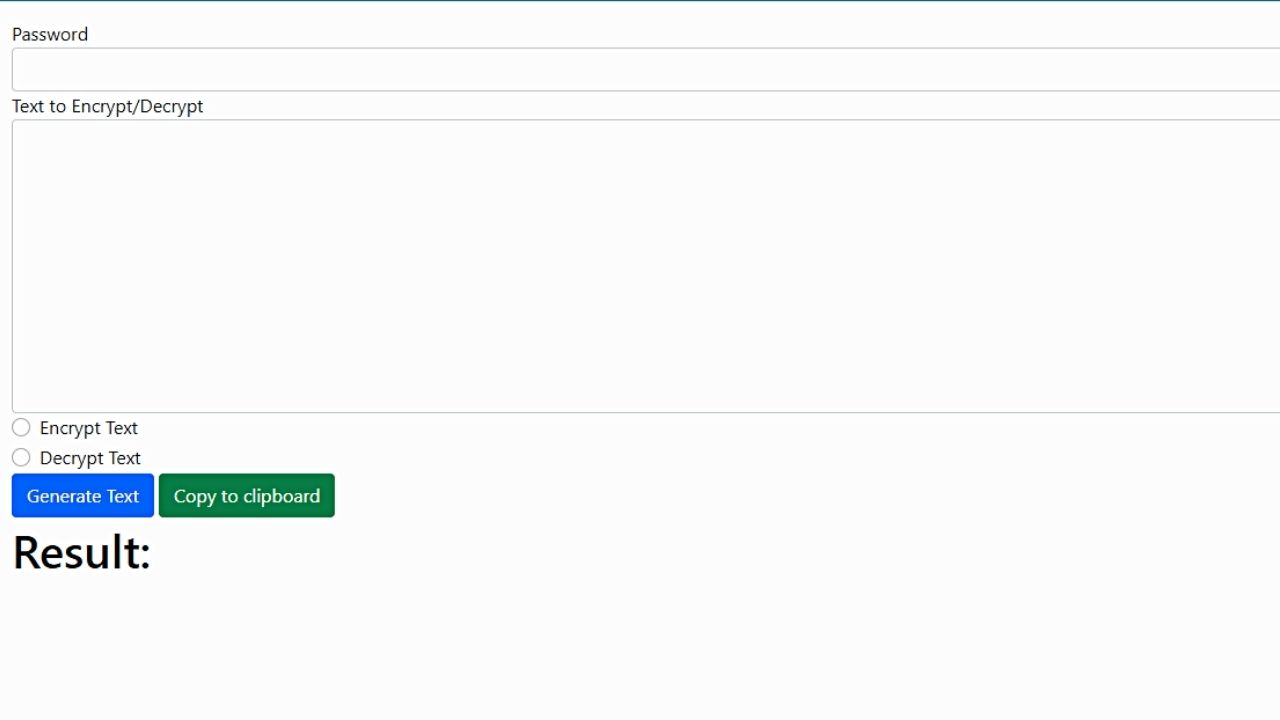
If you don’t want a complicated system to password protect Notion pages, using a 4-digit pin system would suffice. Though it is weaker than the other methods, it’s better to have basic protection rather than none.
There is an add-on called the “Notion-Lock” that operates by generating a 4-digit pin for the text you want to encrypt. Simply embed this URL in the Notion page like how you embed Pinterest boards.
3) Using Third-Party Apps to Password Protect Notion Pages
➤ Simple.ink
Simple.ink is a website builder offering password protection for your Notion pages. But to enjoy this feature, you must have a Notion website made.
Once done, follow these steps to password protect your Notion pages:
1. Launch your website’s dashboard and click on a website.
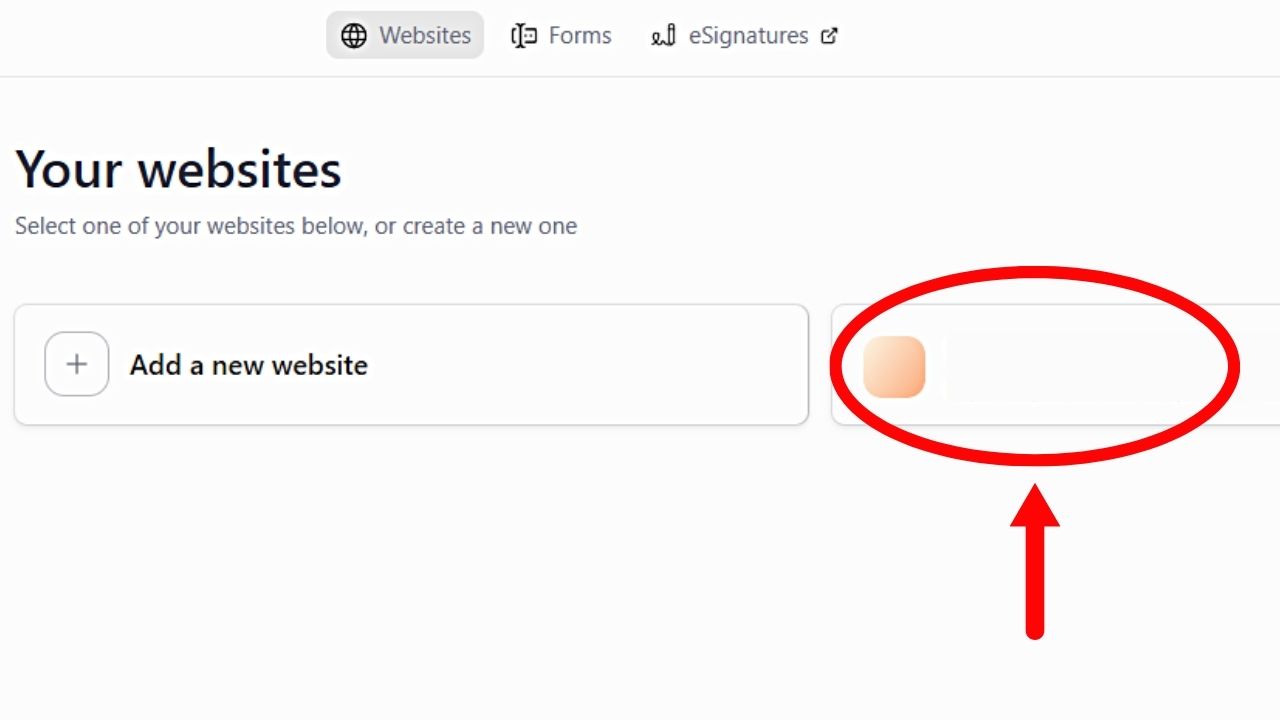
Go to your Simple.ink dashboard. From there, all your Notion websites will be listed in gallery view. Select one that you want to password-protect.
2. Select “Pages.”
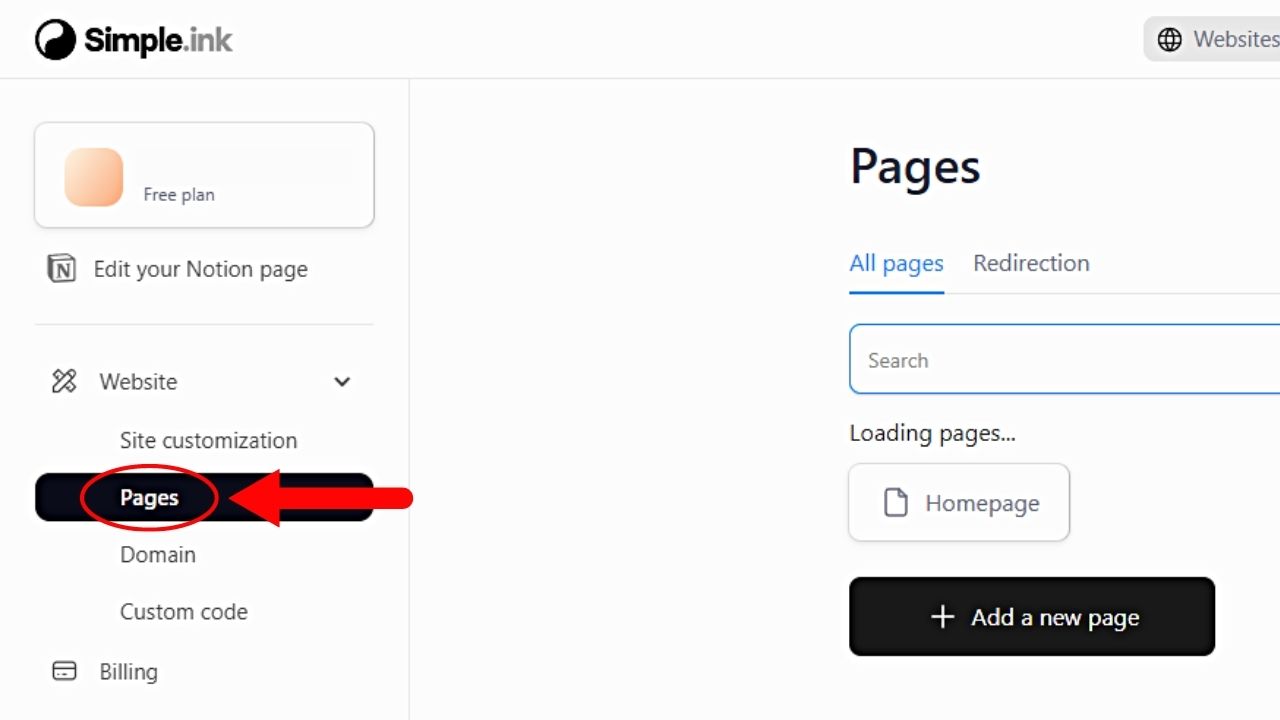
You’ll find this option on the left-side panel of the dashboard, between “Site Customization” and “Domain.”
3. Choose the page you want to lock with a password.
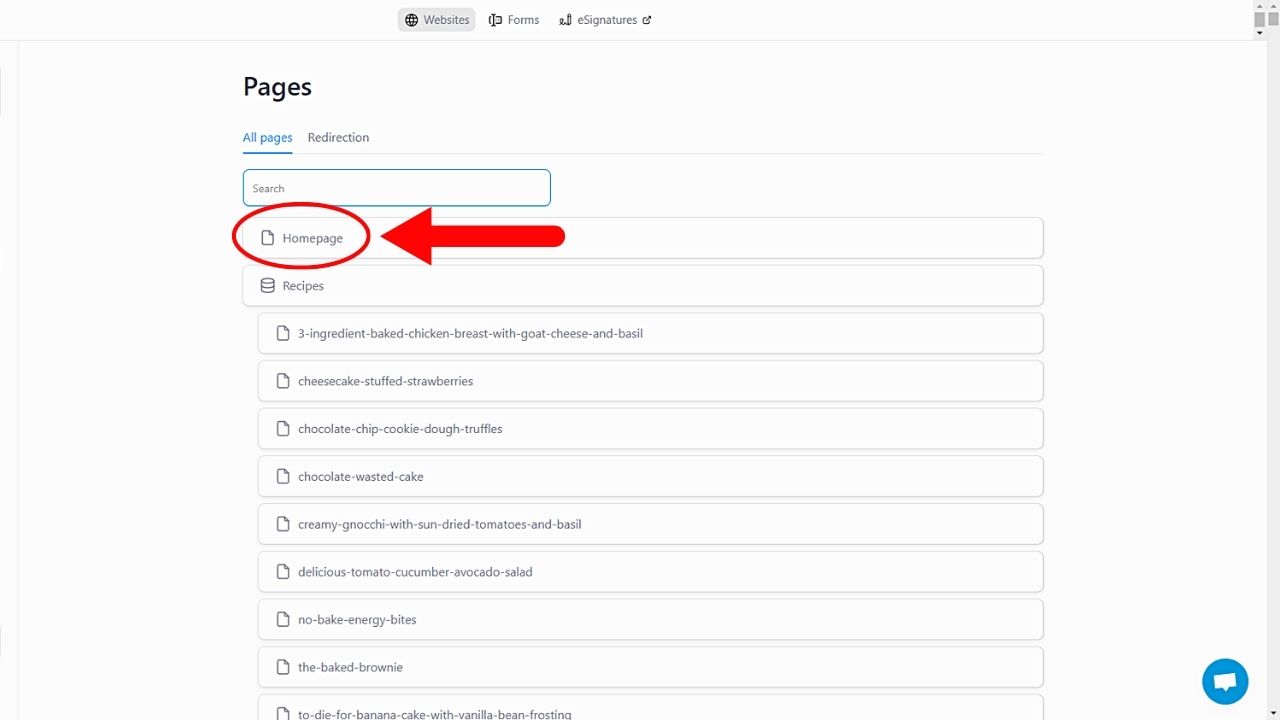
If you want to lock the entire website, select the “Homepage” option instead. A pop-up window then appears.
4. Click “Password.”
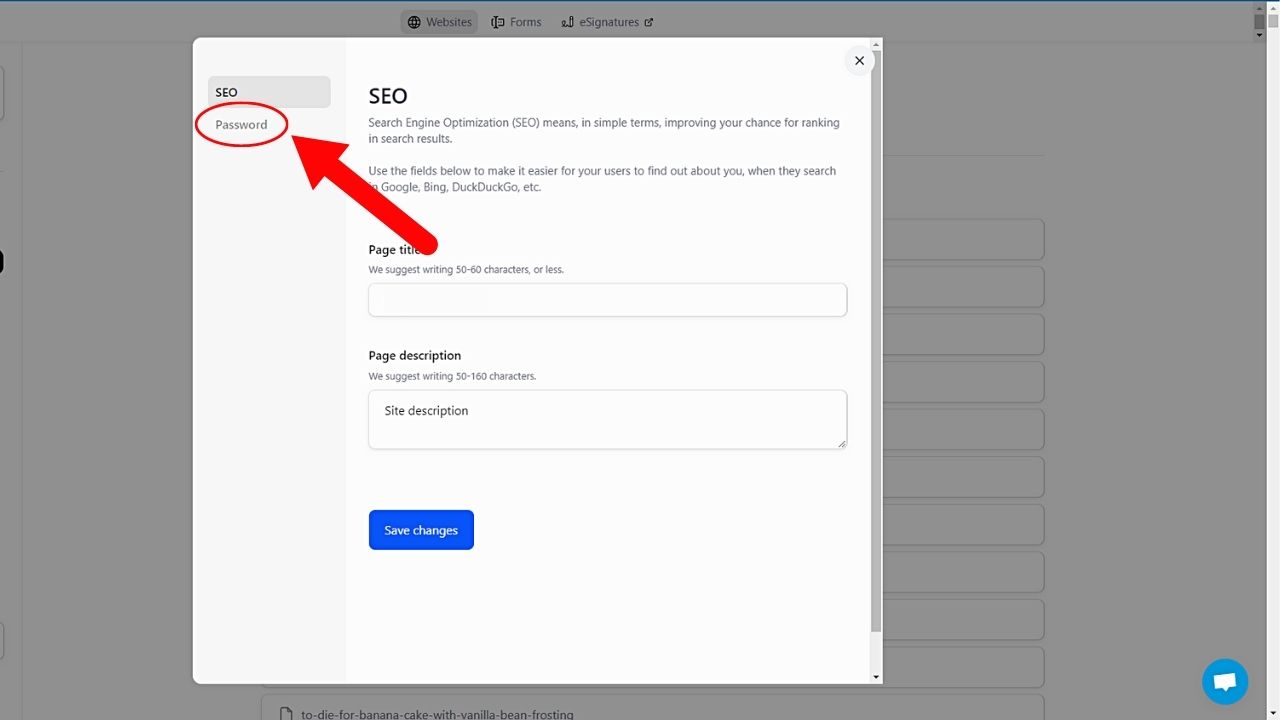
By default, the “SEO” page is the one that first appears on the pop-up window. But since you want to password-protect your website, select the “Password” tab.
5. Choose whether you’ll password-protect a page or the entire website.
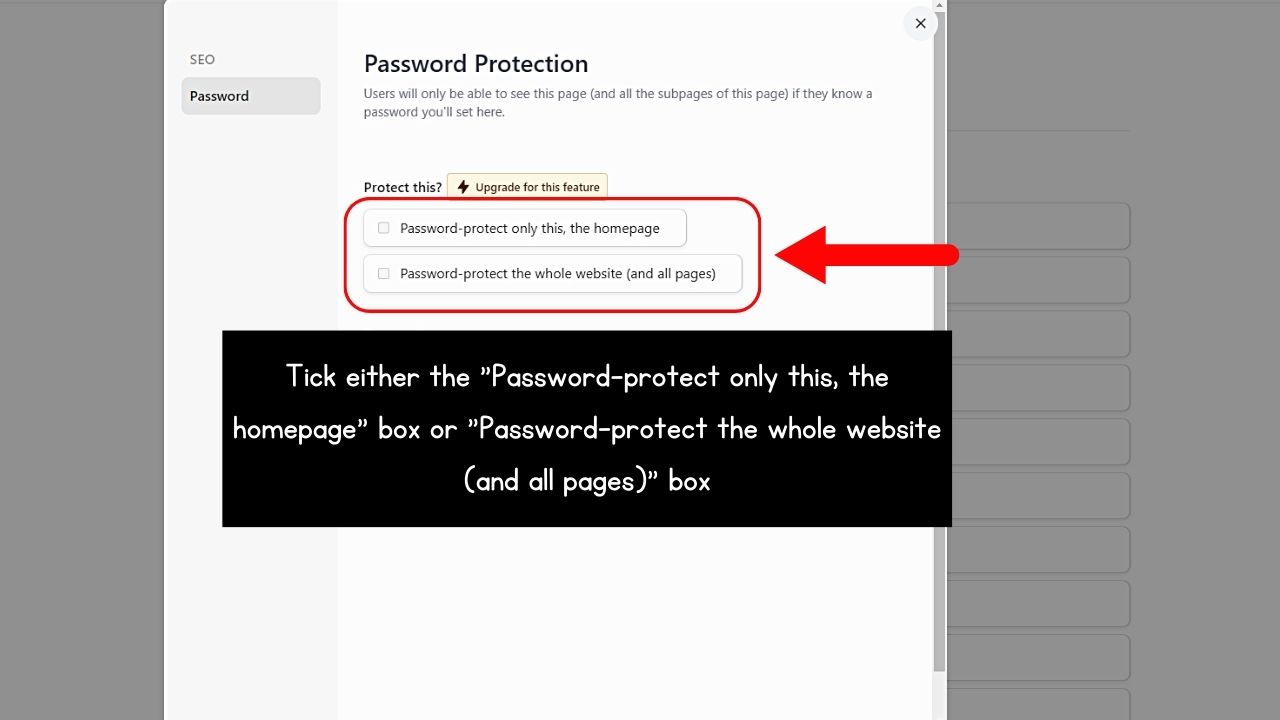
Simply tick the box beside your choice. However, note that you can only avail this password protection if you upgrade to a paid plan.
6. Input your password and select “Save Changes.”
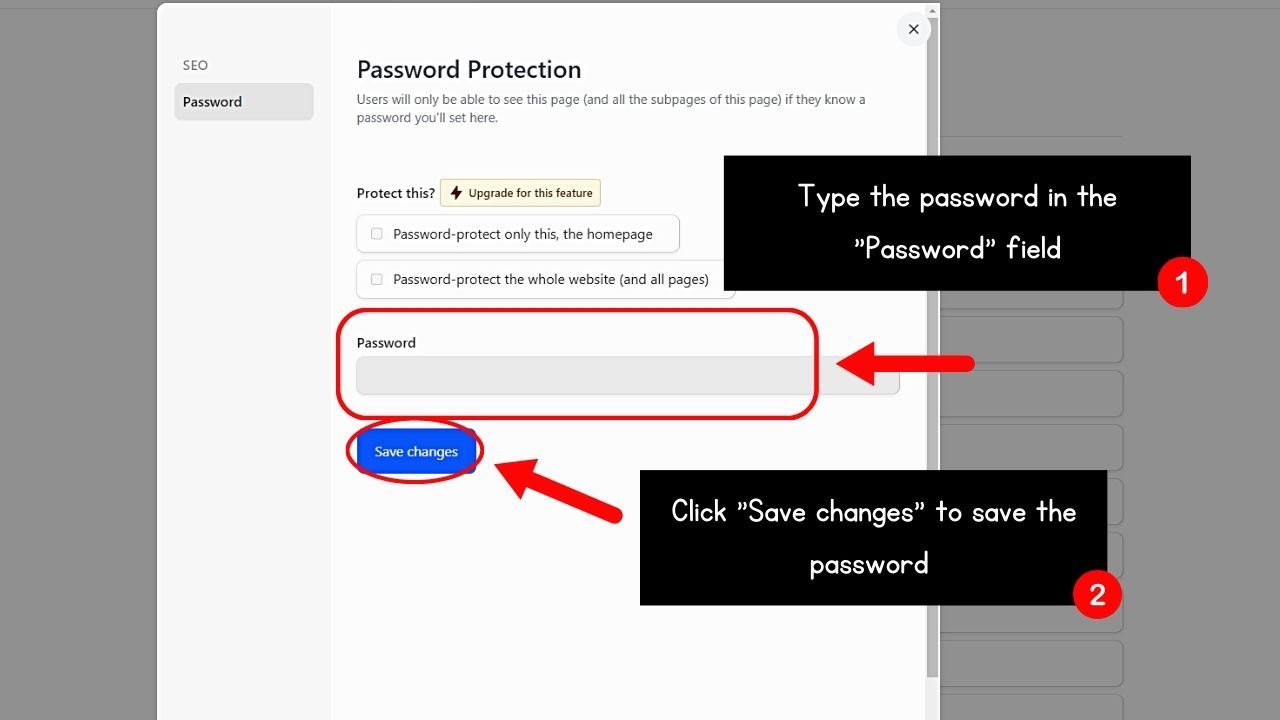
Then jot down or remember the password you inputted in a safe place.
Once done, any person who wants to access your website needs to enter the correct password first.
➤ Potion
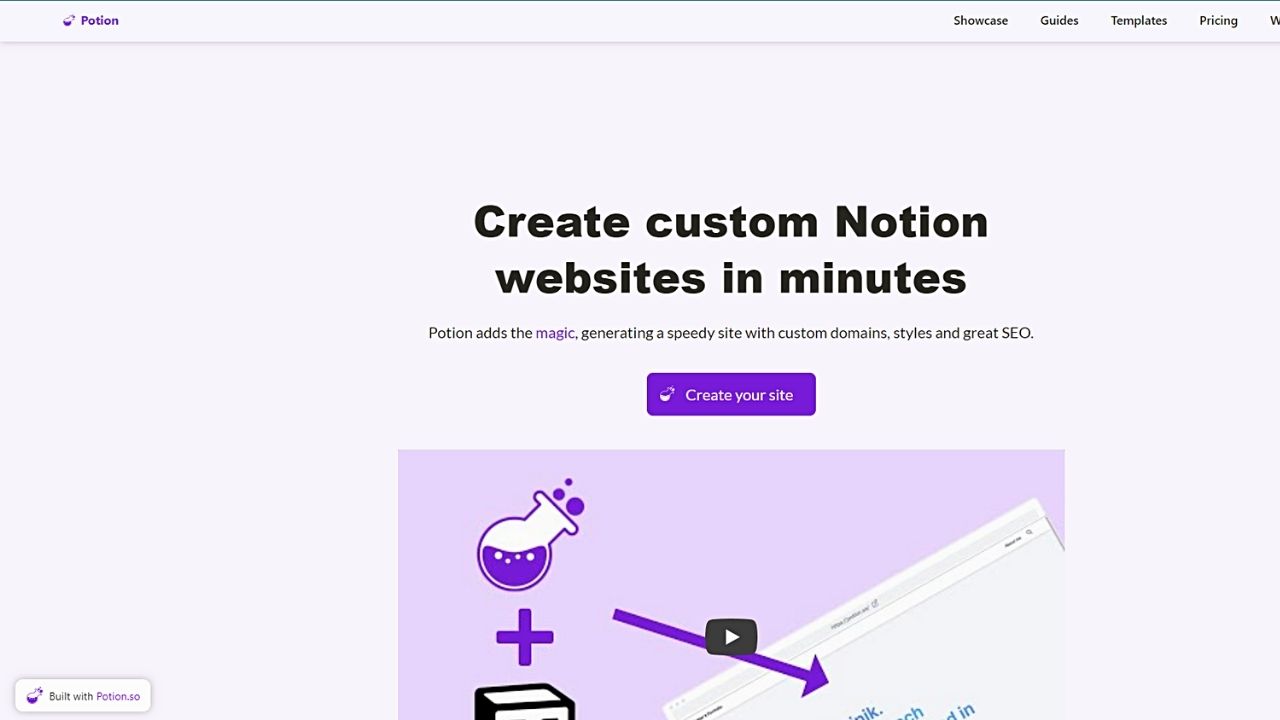
Potion, like Simple.ink, is another website builder offering a password protection feature, too. And, like Simple.ink, set up an account first to use it.
Once done, select “Add New Site” > “Continue” to create your website. Then head to the left-side panel (editor), click “Default Settings” to access the “Page Settings” button.
On the menu that appears, click the toggle for “Password Protect Page” and enter the password. Then click “Save.”
But again, you’ll have to access one of the two paid tiers of Potion before you can avail of this feature.
➤ Sotion
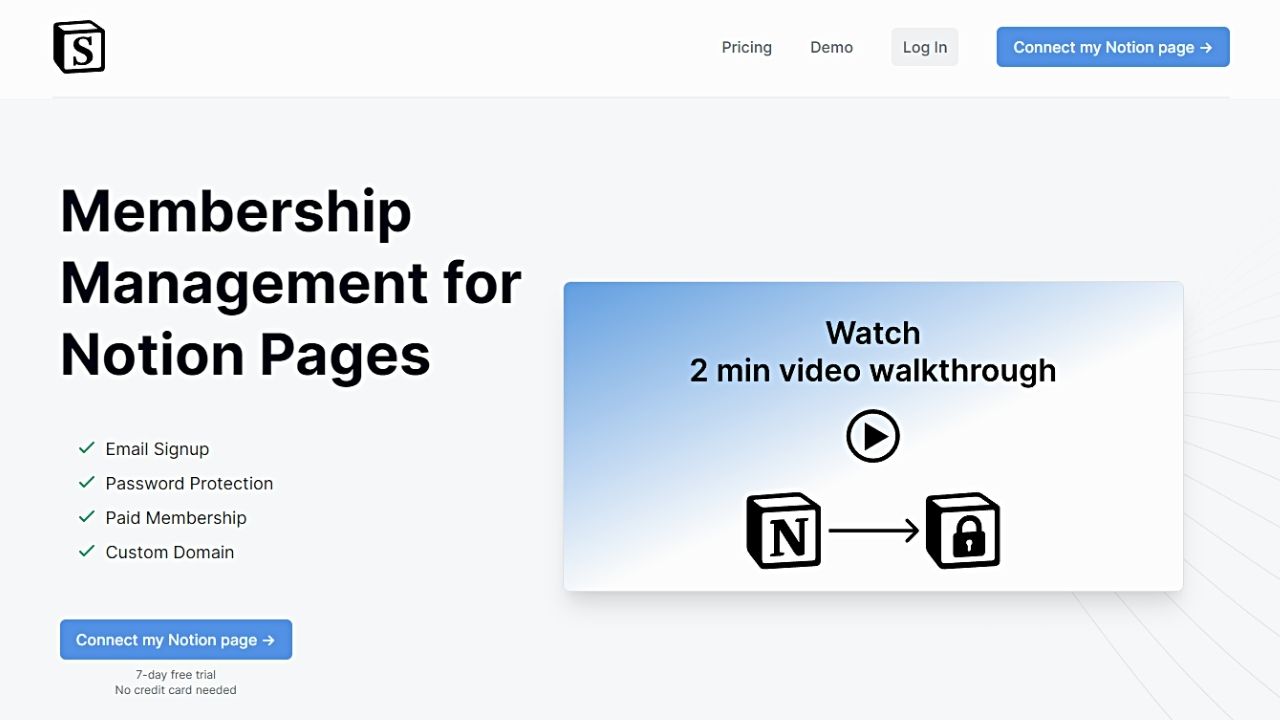
One paid tool that allows you to link a Notion page to your domain is Sotion. Like other website builders, you create an account first to access your Sotion dashboard.
Then, go to the “Page Settings” section, choose “Membership Options” and click “Password Protection.” You can then enter the password you’ll use and save the changes you made.
If you need to change the password, follow the steps mentioned and edit the password there. Select “Save” for the new password to be saved.
Removing Password Protection from Notion Pages
No matter what method you choose to protect your Notion pages, you can remove the password protection you added.
If you used a third-party tool (Simple.ink, Sotion, Potion), go back to the “Settings” of the tool’s dashboard and disable the password protection feature.
If you used a 4-digit pin system for password-protecting your Notion pages, go back to the page where your pin information is stored and delete it.
Conclusion
Password protection of Notion pages secures any confidential information you put in them. In this way, only a select few can access those Notion pages.
Whether you use Notion’s built-in features or third-party apps, take advantage of this crucial feature to maintain your work’s privacy.
